Monthly Archives

January 2020

video production advice

Video Production Advice – How to “Make it Rain”

By Video Production Advice

Producing a “rain scene” was something new to us. And boy oh boy did we have to learn quickly.

We were shooting a fitness based product that would be released as a tie in to the “Step Up” film franchise and the project was overseen by an LA film studio who held the rights to the original Movie. As they wanted to ensure continuity in this spin off reduction they insisted that a cinematic quality was retained in our footage (even though strictly speaking….we didn’t really have a cinematic budget). 

Here’s the brief and our challenge:

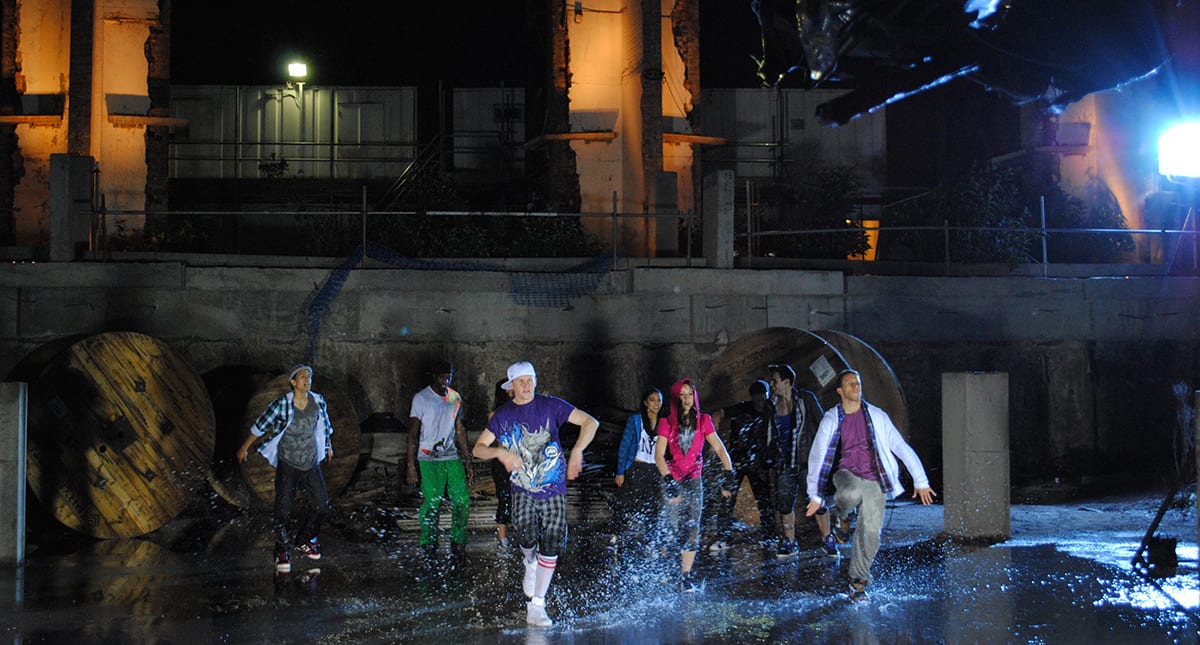
Shoot an authentic nighttime rain scene that has an edgy “street” setting.

Video Production advice

Our initial gut reaction was……”is that all”

But sarcasm aside we knew we had our work cut out to make this a reality.

Sourcing the location was the easy part and we worked with a reputable location agency to identify the best site.

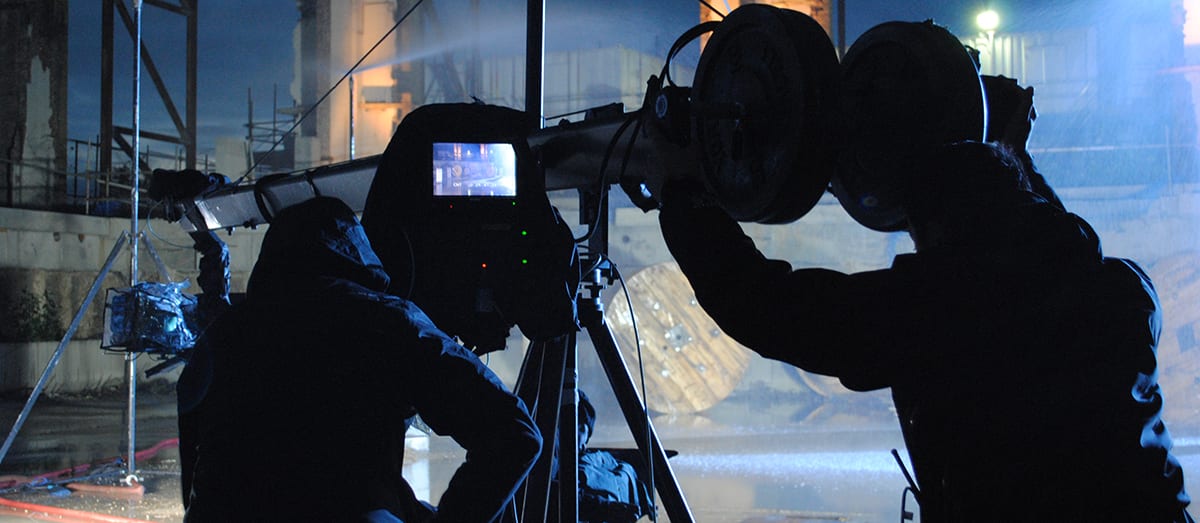
Next we worked with our Gaffer and DOP to devise a lighting plan that would enhance our rain scene. Here was the first learning curve that we hit and a great tip to pass on. If you’re lighting rain the key is to light it from the back. Now usually when producing content (unless specifically requested) we wouldn’t use a powerful back light. This is because a strong back light means that your subject can appear silhouetted or in shadow due to the amount of light they are getting form the back,

However if you need a “rain scene” then unless you light the rain from the back you wont actually see it in camera. So light your rain from the back using a powerful single source and you’ll achieve a stunning shimmer to your rain scene.

Video Production advice

Next up… Do you want thick or thin rain????

This was the question we were asked when sourcing a supplier for the bowser and rain machine.

The fine rain (soaks you through) produces a significantly different look to the final footage. So be aware that rain comes in different sizes!

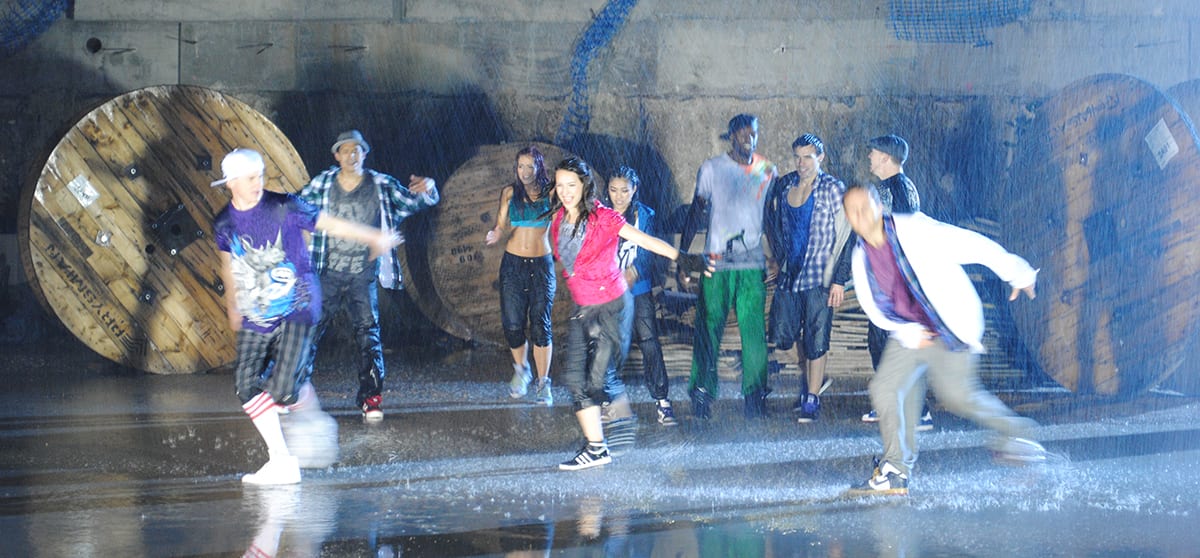
For the most visually dynamic results the thicker rain gave us the best look on camera and caught the light (which was coming from the back remember) perfectly

The final thing we learned (and trust me…we learnt this the hard way) is that you also have the option of cold and warm rain. Now there is a significant cost saving to using the cold rain water (and in the end that’s what we went with) BUT here’s the thing. If you may need your performers to do several takes then using cold rain will drain them completely.

Our shot required a dance sequence to be shot in the rain (and in the middle of the night…which was cold!) and after 2 takes the dancers were completely drained of any energy, Luckily for us we’d nailed the sequence in just 2 takes but this was by no means a forgone conclusion. And with our dancers soaked through and exhausted we couldn’t have shot a 3rd take.  On reflection if we were to produce a scene like this again I wouldn’t hesitate to use the (more expensive) warm rain!!!

Video Production advice

Oh….and it goes without saying that you should cover every base from a Health and Safety angle when using a rain machine.

So that was it. Our first rain shoot which was, to be honest, very stressful. 

explainer video

How to make the most effective Animated Explainer Video in under 2 minutes.

By Explainer Video

We all know how powerful and effective a good explainer video can be. But in todays now and next generation of viewers, getting your message over in a neat and efficient duration is critical. Simply put, shorter films work much harder for you than longer ones.

Lets look at the stats – If your video is over 3 minutes long then pretty much 50% of you viewers won’t watch until the end.

This figure is even sharper if you’re pitching ap product to the younger audience.

So how can you cram everything you want into a short duration film without sacrificing the important stuff?

One of the most important aspects not to lose sight of is this –  the greatest strength of an animated explainer video is that it can “show and tell” at the same time. That is to say a voiceover can deliver one important message while the visual can illustrate a different (although not completely unconnected) part of your message. 

So you can double up on your messaging to enhance the power of your explainer video.

Animated Explainer Video for Business

However one note of caution here – As mentioned the visual and audible parts of your message can be be different but SHOULD NOT feel disconnected.

So in terms of timing and planning your script and storyboard here’s a great guide to what trio place where:

Open strong 0-15 seconds

Start with something bold both visually and audibly. Make a powerful statement that will ensure your viewers interest is raised form the get go.

Get to the point 15-45 seconds 

Back up your opening statements with further key information that clearly lays out the facts of your message and the impact of your product/service on the viewer.

animated explainer video

More meat on the bone (features/benefits) 45-90 seconds

Now its time to delve a little deeper. Hopefully your introduction has been strong enough to en-suite that your viewer wants to know more so this is where you deliver. Ensure the visual and audible elements of your message are now fully concentrated on adding flesh to your opening statement by illustrating the key features/benefits/points of your product or service here. But don’t dwell on any one point for more than 10-15 seconds.

Once more with feeling (summarise all) 90-105 seconds

Don’t be afraid to repeat the key message here. The wrap up should tie together the opening message and the benefits/features described in a simple and concise way.

Close it out 105 – 120 seconds

Once you’ve wrapped up the message ensure you close just as strongly as you started with a clear CTA and viewer message.

Animated Explainer Video for Business

And that’s really all there is too it…. well..sort of. Ok so different films can vary from this structure and we’ve generalised quite a lot here. But this duration and breakdown of message can be found in many successful Animated Explainer Videos and with good reason. It works.